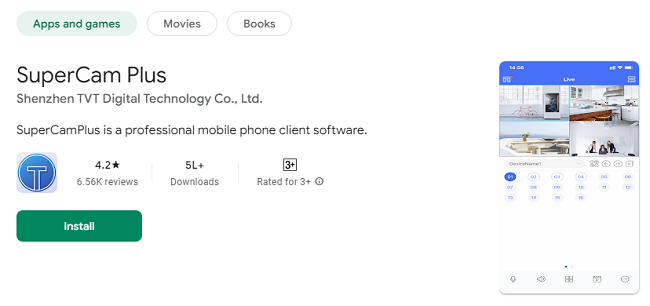
How to Download SuperCam Plus for Windows 7/8/10/11 PC?
SuperCam Plus is a popular video surveillance application designed to manage and monitor security cameras efficiently. While primarily built for mobile platforms, many users seek to install it on their Windows PC to leverage larger screens, better multitasking capabilities, and enhanced control over their surveillance systems. This guide provides a step-by-step approach to downloading, installing, and using SuperCam Plus on a Windows PC.
Why Use SuperCam Plus on Windows PC?
Using SuperCam Plus on a PC offers several advantages over mobile devices, including:
Larger Display for Better Monitoring: PCs provide larger screens, allowing users to monitor multiple camera feeds simultaneously.
Enhanced Performance: PCs can handle video streaming and playback more smoothly, especially when monitoring multiple high-resolution feeds.
Efficient Multitasking: Easily switch between tasks while keeping an eye on security footage.
Reliable Storage Options: PCs offer greater storage capacity for saving recordings and snapshots locally.
Before diving into the installation process, ensure your PC meets the following requirements:
Operating System: Windows 7, 8, 8.1, 10, or 11.
RAM: At least 4GB (8GB or more recommended for better performance).
Free Disk Space: At least 500MB for the emulator and app installation.
Stable Internet Connection: A reliable internet connection ensures seamless app downloads and video streaming.
Steps to Install SuperCam Plus for Windows Using Android Emulator
Since SuperCam Plus is primarily designed for Android devices, installing it on a PC requires an Android emulator. Popular emulators like BlueStacks, Nox Player, and LDPlayer allow you to run Android apps on your Windows PC.
Step 1: Download an Android Emulator
Visit the official website of your preferred emulator:
BlueStacks
Nox Player
LDPlayer
Download the latest version compatible with your PC.
Run the installer and follow the on-screen instructions to complete the installation process.
Step 2: Install SuperCam Plus App via Emulator
Open the Emulator: Launch the installed emulator on your PC.
Sign in with Google Account: You may need to sign in with a Google account to access the Play Store or other features.
Download SuperCam Plus App:
Open the Play Store from the emulator.
Search for “SuperCam Plus App”.
Now tap on the "Install" button to get it on your Windows.
Step 3: Launch SuperCam Plus
Once installed, locate the SuperCam Plus icon on the emulator's home screen.
Click the icon to launch the app.
Add your security camera details to start monitoring your feeds.
Using SuperCam Plus Web Version (If Available)
Some surveillance applications provide a web-based platform that can be accessed via a browser without additional software. Check if SuperCam Plus offers this feature by visiting the official website or contacting customer support.
Open Your Preferred Browser: Use Chrome, Firefox, or Edge for optimal performance.
Visit the Official SuperCam Plus Website: Look for a web client or portal login section.
Log In with Your Credentials: Enter your username and password associated with your SuperCam Plus account.
Access Camera Feeds: Once logged in, you can view live streams, playback recordings, and control camera settings.
Customizing SuperCam Plus on PC
Once SuperCam Plus is installed, customizing the settings ensures optimal performance and user experience.
1. Add Cameras to the App
Open SuperCam Plus and navigate to the Device Management section.
Click Add Device and input the camera’s IP address, port number, username, and password.
Save the configuration and test the connection to ensure it’s working correctly.
2. Adjust Video Quality Settings
Go to Settings within the app.
Adjust the resolution, frame rate, and bitrate to balance video quality and performance based on your internet speed.
3. Set Up Alerts and Notifications
Though push notifications are mobile-centric, SuperCam Plus may offer email alerts for motion detection.
Enable motion detection alerts under the Alarm Settings menu.
Configure email alerts by entering your email credentials and SMTP server details.
Troubleshooting Common Issues
Problem: Emulator Running Slowly
Solution:
Ensure hardware virtualization is enabled in your BIOS settings.
Allocate more RAM and CPU cores to the emulator via its settings.
Problem: Cameras Not Connecting
Solution:
Verify that the correct IP address and port are entered.
Ensure the camera is connected to the same network as the PC.
Problem: App Freezing or Crashing
Solution:
Update the emulator and SuperCam Plus app to the latest versions.
Clear the emulator’s cache and restart the app.
Advantages of Using SuperCam Plus on PC/Laptop
Better Control Over Surveillance: Easily manage multiple camera feeds with better precision and control.
Improved Recording and Playback: PCs can store large amounts of video data locally, enabling longer recording retention.
Ease of Use: The keyboard and mouse provide more efficient navigation and control than touchscreens.
Conclusion
Installing SuperCam Plus on a Windows PC enhances your surveillance experience by offering better viewing, performance, and multitasking capabilities. Whether through an Android emulator or a potential web client, setting up SuperCam Plus is a straightforward process. Follow the steps outlined in this guide to enjoy seamless access to your security camera feeds from the comfort of your PC. Stay secure, stay informed!